Recording audio on a MacBook is a straightforward process that can be accomplished using built-in applications or third-party software. Whether you are a student recording lectures, a podcaster capturing your latest episode, or a musician laying down tracks, your MacBook offers a range of tools to meet your needs. This detailed guide will walk you through the steps to record high-quality audio on your MacBook using various methods.
Using QuickTime Player

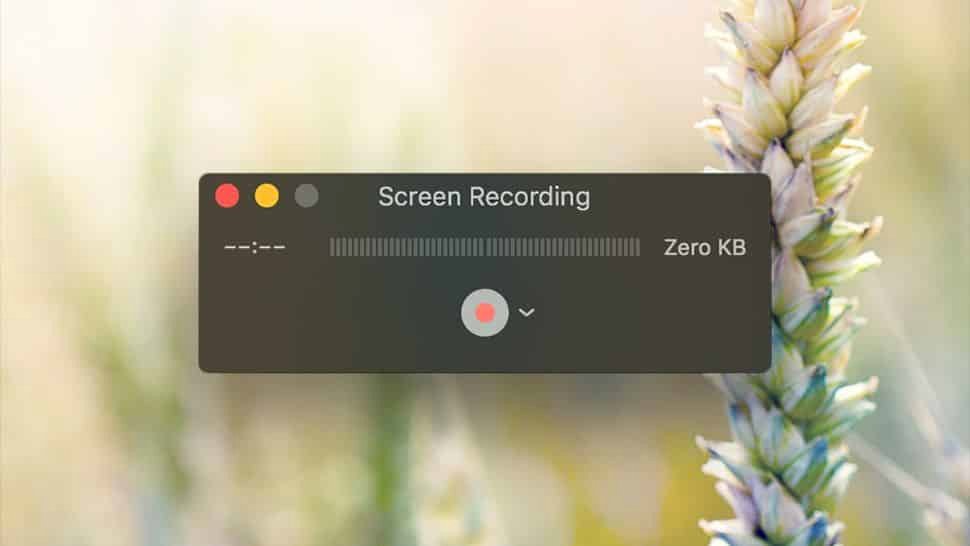
QuickTime Player is a built-in application on macOS that offers a simple way to record audio.
Step-by-Step Guide
- Open QuickTime Player: You can find QuickTime Player in the Applications folder or by using Spotlight search.
- Select New Audio Recording: Click on “File” in the menu bar and select “New Audio Recording.”
- Choose Microphone Input: Click the arrow next to the record button to select your microphone input. You can use the built-in microphone or an external one.
- Adjust Volume: Use the volume slider to adjust the input level.
- Start Recording: Click the red record button to start recording.
- Stop Recording: Click the stop button when you are finished. Save your recording by selecting “File” > “Save.”
Using Voice Memos

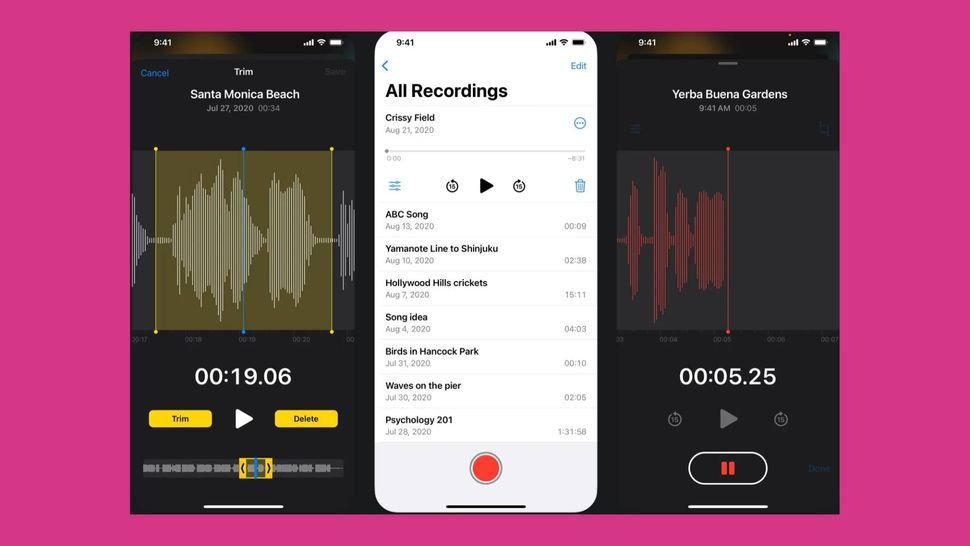
Voice Memos is another built-in app that is perfect for quick and easy audio recordings.
Step-by-Step Guide
- Open Voice Memos: You can find Voice Memos in the Applications folder or through Spotlight search.
- Start a New Recording: Click the red record button to start a new audio recording.
- Pause and Resume: You can pause and resume recording by clicking the same button.
- Stop and Save: Click “Done” to stop the recording. Your audio file will be saved automatically in the app.
Using GarageBand

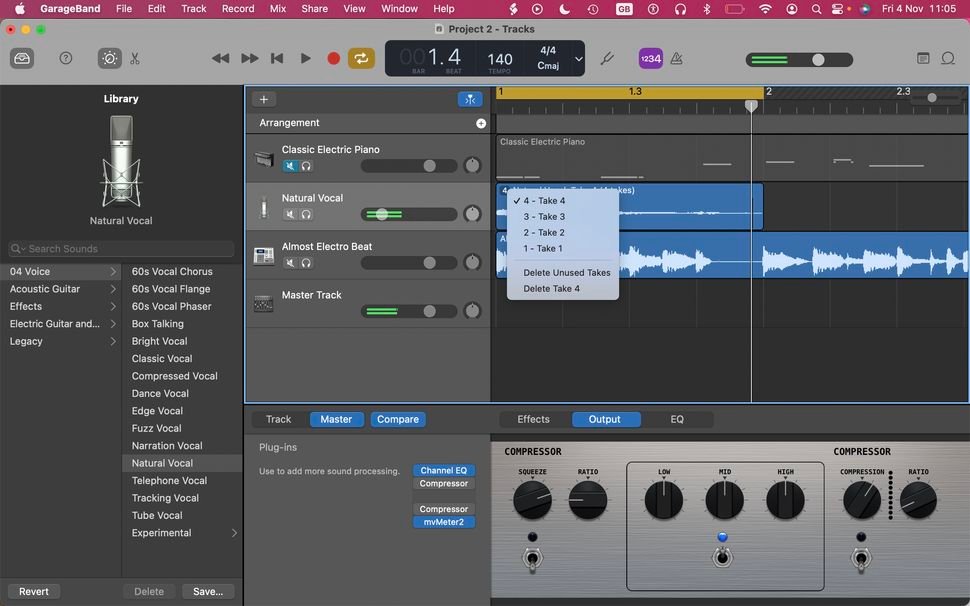
For more advanced audio recording and editing, GarageBand is an excellent option.
Step-by-Step Guide
- Open GarageBand: Launch GarageBand from your Applications folder.
- Create a New Project: Click on “File” > “New” to create a new project. Choose “Empty Project” and click “Choose.”
- Select Audio Track: Choose “Audio” for recording using a microphone and click “Create.”
- Set Up Microphone: Ensure your microphone is set up correctly by selecting it from the input options.
- Record Audio: Click the red record button to start recording. You can monitor your audio levels on the track header.
- Stop and Edit: Click the stop button when you are finished. You can edit your recording within GarageBand and save your project.
Using Third-Party Software

Several third-party applications provide advanced features for audio recording on a MacBook. Some popular options include Audacity, Adobe Audition, and Logic Pro X.
Audacity
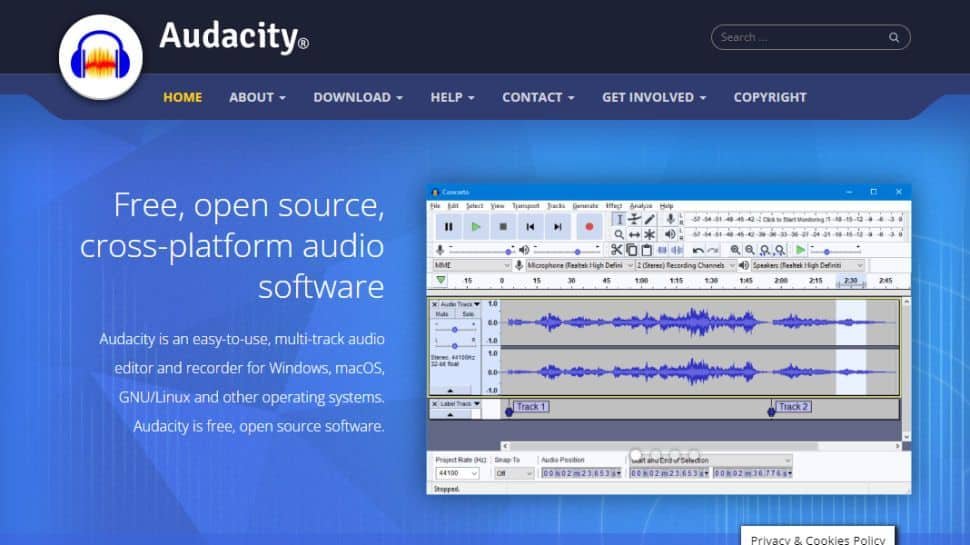
Audacity is a free, open-source audio recording and editing software.
- Download and Install Audacity: Download Audacity from its official website and install it on your MacBook.
- Set Up Microphone: Open Audacity and select your microphone input from the dropdown menu.
- Record Audio: Click the red record button to start recording. Monitor your audio levels on the screen.
- Stop and Save: Click the stop button when finished. Save your recording by selecting “File” > “Save Project As.”
Tips for High-Quality Audio Recording
Use an External Microphone
While the built-in microphone on your MacBook is convenient, using an external microphone can significantly improve audio quality. USB microphones are easy to use and offer better sound clarity.
Record in a Quiet Environment
Background noise can affect the quality of your recording. Try to record in a quiet room and consider using a pop filter to minimize unwanted noise.
Monitor Audio Levels
Keep an eye on your audio levels to avoid clipping, which occurs when the input volume is too high. Adjust the input levels as necessary to ensure clear sound without distortion.
Use Headphones
Wearing headphones during recording can help you monitor the audio and catch any issues in real-time.
Conclusion
Recording audio on a MacBook is a versatile and accessible process, thanks to the built-in tools and available third-party software. Whether you’re capturing a quick voice memo or producing a professional-quality podcast, your MacBook has the capabilities to meet your needs. By following the steps outlined in this guide and using the right equipment and settings, you can achieve excellent audio recordings with ease.


